
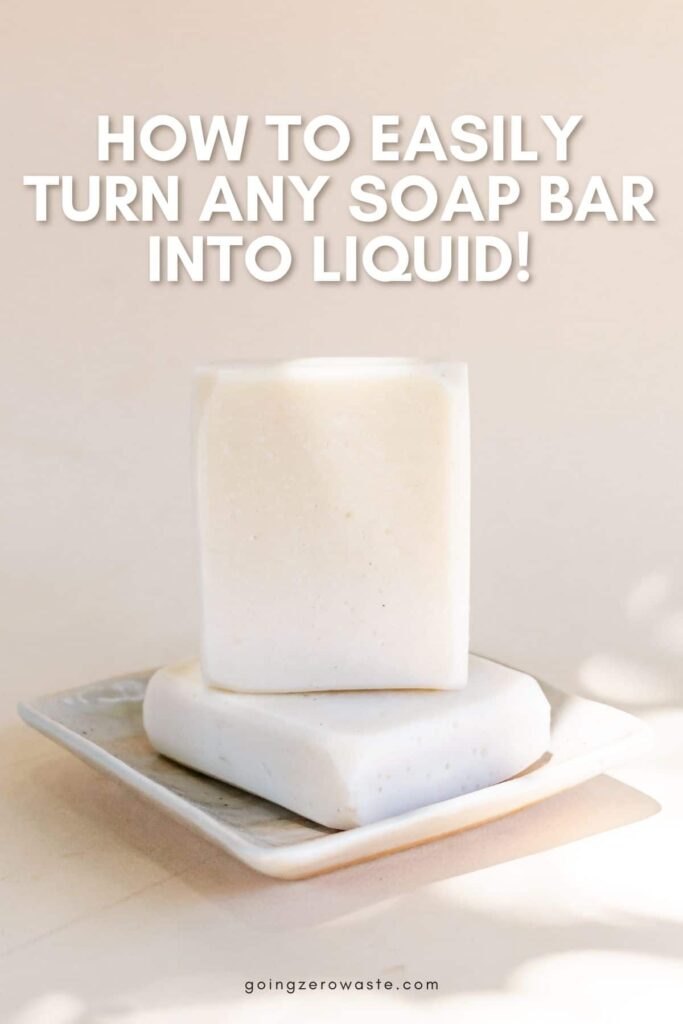
You’ll love this liquid soap recipe due to its ease, customization, and a zero waste way to use up the last of your soap bars.
Yes, you can make DIY liquid soap from a solid soap bar — and it’s EASY. I mean, unbelievably easy. It’s almost as easy as turning your apple scraps into homemade apple cider vinegar. Turn any bar of soap into DIY liquid hand soap for a natural liquid soap that ensures you use all of your scraps. Homemade hand soap is so easy to make that you won’t even want to buy soap going forward!
Some of the links below are affiliate links; for more information please see my disclosure policy.
Table of Contents
diy liquid soap
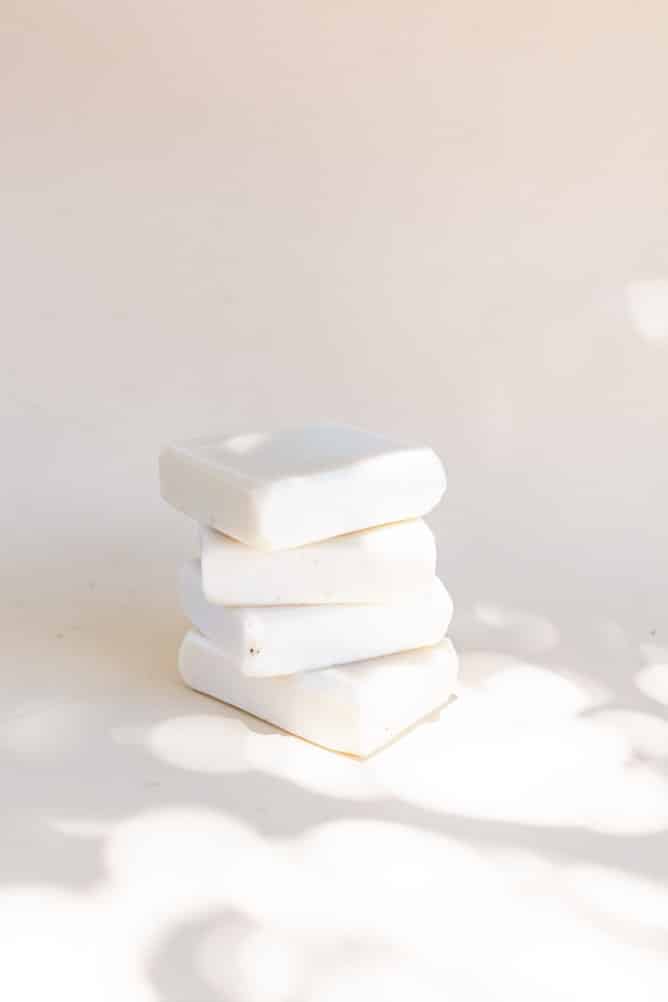
My DIY liquid soap can be made with a whole bar of soap or with your soap ends. I personally love using a bar of soap in the shower, but it can be difficult to use the bar once it gets down to the very end. It’s so thin, easy to lose, and can break up into tiny pieces.
So, when it hits the end phase, I like to retire it and save it in a jar for a later day. Once I’ve collected enough soap ends or soap scraps, I put them all together to make a glorious homemade hand soap!
I’m blown away by how much liquid soap this recipe yields! On average, 12 soap ends or 1 bar of soap equals about half a cup of chopped soap. That resulted in about three cups of liquid soap, which filled up three of my soap dispensers!
I’m running an experiment where I’m timing how long it takes Justin and me to go through a bar of soap vs. a bar of soap in liquid form. So far, the liquid soap option is in the lead, and I have a hunch it’ll last longer — but only time will tell.
why you’ll love diy liquid hand soap
Now, you might be wondering why you’d want to do this. What’s the point of turning a bar of soap into a liquid option? Here are just a few reasons:
- You want to make your bar of soap last longer (still in the hunch phase)
- Cheaper than buying liquid
- You’re looking for a way to use up your soap ends
- It’d be easier for a family who shares the same shower
- It’s easier for guests
- To reduce plastic packaging without sacrificing the convenience of a liquid product
- To avoid transporting water around the country
- It’s a fun crafty activity to do with kids
RELATED: This homemade soap works GREAT in my DIY Tub Scrub – this recipe is has so many rave reviews, you have to try it!
RELATED: Why You SHOULDN’T Use Homemade Laundry Detergent (pssst, because it’s soap!)
to make a natural liquid soap that foams
When it comes to foaming hand soap, the secret is not in the soap itself, but the soap pump! Upcycle one of the old foaming pumps you have to make this homemade hand soap foamy. Plus, see my notes on soap consistency at the bottom of the page.
preservatives and homemade hand soap
Do you need to use a preservative when making a natural liquid soap? YES. Y-E-S. If you’re adding water to a homemade product you need a preservative. Without one, the mixture would only keep for a few weeks in the fridge, and maybe a week on the counter.
So, keep your DIY liquid hand soap going strong with a natural preservative. There are some great ones on the market, and I’m using leucidal liquid SF. It’s a small, glass bottle I like to keep on hand for any DIYs like this.
RELATED: Use your liquid soap to make a Homemade Makeup Brush Cleaner
liquid soap recipe
This is NOT an exact recipe because I don’t know what type of bar soap you’re using. Since every bar will have slightly different ingredients, I prefer to err on the side of caution by using less water upfront and adding more later.
For best results, you should adjust your recipe the morning AFTER you’ve made the soap. See my notes below for more info!
the tools:
- sauce pot
- stove top
- soap dispenser
the ingredients:
- 1/2 cup of chopped soap
- 3 cups of water
- a natural preservative (I used leucidal liquid sf, which is supposed to be 3-4% of your overall mixture. That came to about 2-3 tablespoons, but be sure to double-check your measurements)
- 1.5 teaspoons of glycerin
- scent is optional (my soap bars were already scented, so I left this out)
how to turn bar soap into liquid soap:
- Place the three cups of water into your saucepan.
- Put the saucepan on the stove over medium to high temperature.
- Add all of your chopped soap to the water.
- Let the soap completely dissolve (keep an eye on the pot so it doesn’t overflow).
- Once all the soap is dissolved, remove the pot from the heat and stir in the glycerin, natural preservative, and optional scent.
- Let it cool overnight.
- In the morning, give the soap a good stir. It should be a beautiful creamy consistency.
- Pour into a soap dispenser of your choice!
important notes:
If your soap thickened up too much in the morning, you can add more water to thin it out. Just be sure that you add a bit more of the natural preservative to it.
If you’re using a foaming hand dispenser, you will most likely need a thinner consistency — I’d recommend adding half the glycerin and doubling the preservative. In the morning, add an extra cup or two of water to thin.
Remember, you can always add more water to the soap, but you can’t take it away. So, I prefer to err on the side of caution with a thicker mixture.
faqs
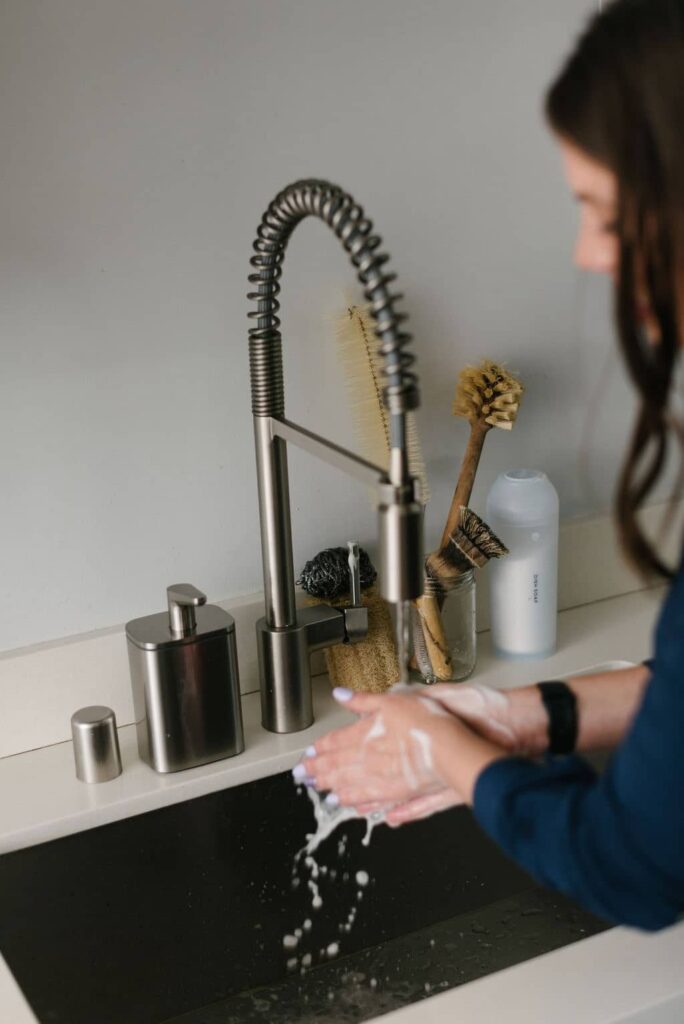
is bar soap sanitary?
I wanted to address this myth upfront. Bar soap is HYGIENIC! It has stood up to bacteria and viruses in a multitude of studies since the 1960s.
“‘Bar soap is good at mechanically removing germs that are transiently on your hands,’ says Elaine Larson, Associate Dean for Research and Professor of Epidemiology at Columbia University’s School of Nursing. The gunk we want to wash off our hands, whether it’s dirt or germs, clings to us because of the natural oils on our skin.
Soap molecules are designed to break up that oil into smaller drops, loosening up any sticky microbes in the process. The other end of the soap molecule remains “hydrophilic,” or water loving. When you turn on the faucet, the soap takes those now loose flecks of dust and germs down the drain. Whee!”
You can read more about bar soap and those aforementioned studies here.
how do you store your liquid hand soap?
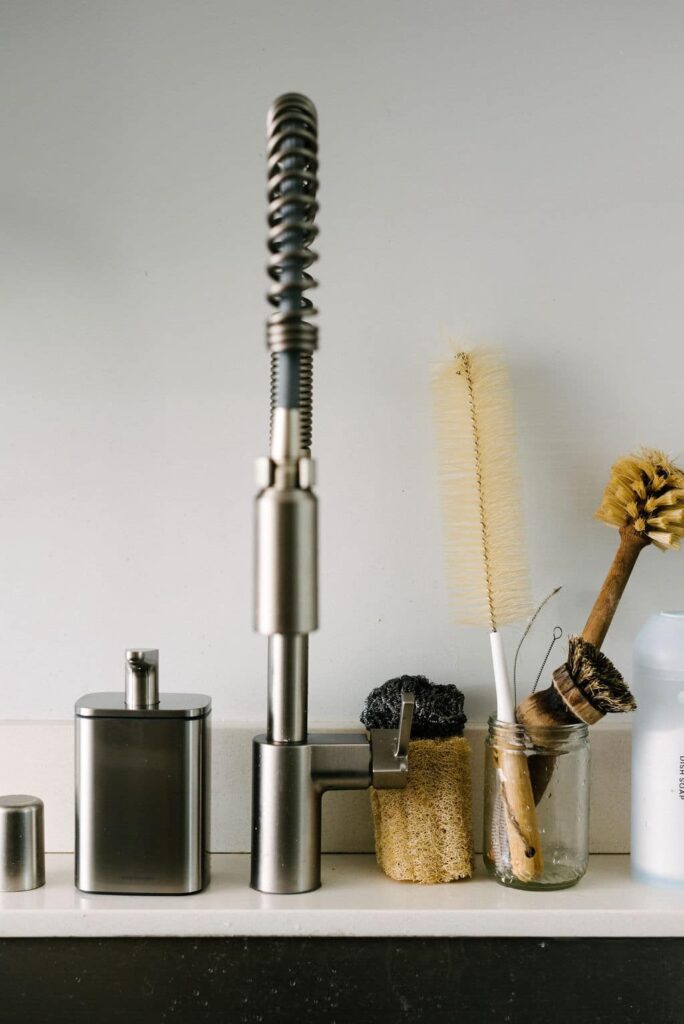
You can use any upcycled soap dispenser! I have a maple syrup bottle with a pump, an old face wash cleanser bottle, and my indestructible tried-and-true simple human dispenser.
Seriously, if you’re looking to invest in a soap dispenser that will last you a lifetime — look no further. It has a five year warranty and is made from steel. So, it’s an almost plastic free alternative that’s totally shower safe!
do you need to add the glycerin?
The glycerin is not necessary for this liquid soap recipe, but it will prevent your liquid mixture from clumping and create a creamy texture that will help nourish your skin. If you find that bar soap tends to dry you out then definitely add it!
RELATED: Use your homemade soap to easily remove pesky labels from your upcycled mason jars!
Liquid Soap Recipe from Solid Bar Soap
You’ll love this liquid soap recipe due to its ease, customization, and a zero waste way to use up the last of your soap bars.
Ingredients
- 1/2 cup choppped soap
- 3 cups water
- 2-3 tablespoons natural preservative
- 1.5 teaspoons glycerin
- Optional scent
Instructions
- Place 3 cups of water in the saucepan
- Put the saucepan on the stove over medium to high heat
- Add all of the chopped soap to the water
- Allow the soap to completely dissolve, keeping an eye on the pot so it doesn't overflow
- Once the soap is dissolved, remove pot from heat and stir in the glycerin, preservative, and optional scent
- Allow to cool overnight
- In the morning, give the soap a good stir. It should be creamy
- Pour into soap dispenser of your choice
Notes
If your soap thickened up too much in the morning, you can add more water to thin it out. Just be sure that you add a bit more of the natural preservative to it.
If you’re using a foaming hand dispenser, you will most likely need a thinner consistency — I’d recommend adding half the glycerin and doubling the preservative. In the morning, add an extra cup or two of water to thin.
Remember, you can always add more water to the soap, but you can’t take it away. So, I prefer to err on the side of caution with a thicker mixture.
So, I gotta know? Are you a bigger fan of bar soap or liquid? Do you think you’d give this DIY a try?


, Zero Waste Bathroom Tour")

Thanks for this recipe! What is the proportion of preservative and glycerine to the 3ish cups of liquid soap? Cheers.
YES! I am going to try this recipe. Bar soap is too messy in the shower but I don’t want to buy and dispose of a whole new container for every 10 ounces of soap I use. So wasteful!
This is so cool! For the natural preservative would lemon juice work?
I tried this but it was like water consistency and separated in the morning. I used lye soap and 3 cups of water
I prefer bar soap but my guys prefer liquid, I will for sure try this. Thank you
I think this is a great way to save money, besides my fiancé prefers bars, and wastes a lot of it, and I prefer liquid. I also try as hard as I can not to waist much of anything. I’ve asked him why he puts a new bar out when there is still so much usable soap, and his reply is that it’s not good for the shower anymore. The one problem I have always had with bars is that they dry my skin out, so thank you for the tip on how to keep my skin nice.
I love to make my own bar soap to liquid but haven’t mastered it yet. I will definitely try your recipe I tried dove bar soap and it’s been about the best so far. Wish me luck 👍