
Sustainable Living: 4 Things You Should Know How to Fix
Zero Waste for Beginners
August 30, 2022 | Ariana
Knowing how to fix simple household items saves you money, keeps junk out of landfills, and keeps your household self sufficient.
How do you repair holey socks? How do you repair a button-less jacket? This post covers how to repair a number of common issues, including torn socks and popped buttons, just to name a couple! Get ahead of planned obsolescence (more on that below) by repairing your things before tossing them and buying new. These repairs are so easy to learn and don’t take a lot of time for more sustainable living.
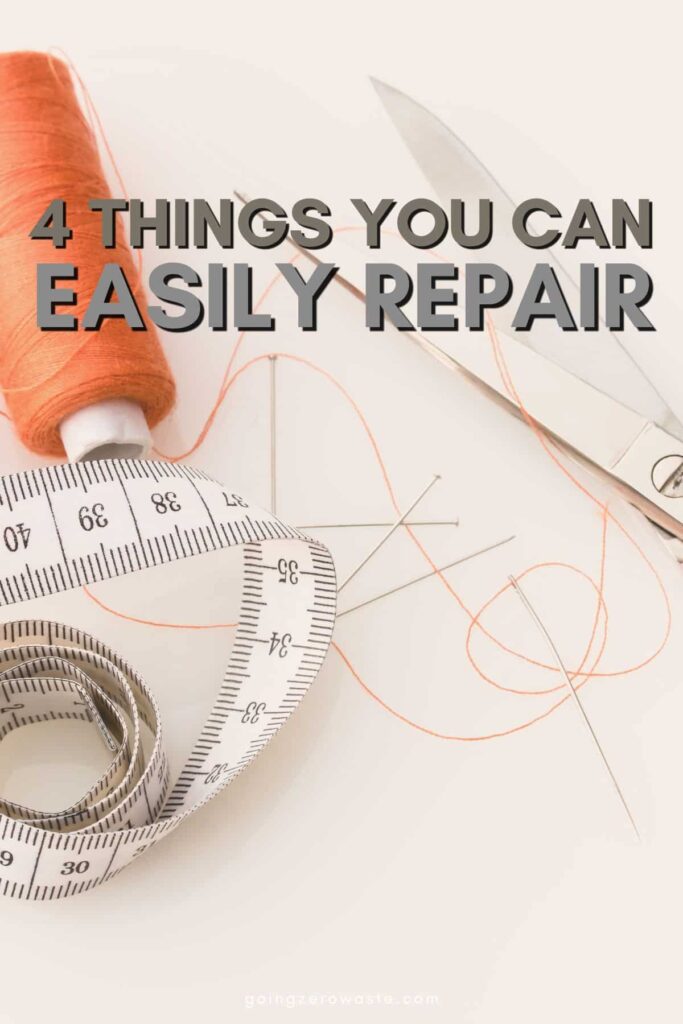
Table of Contents
why learning how to fix household items is important
I’m big on buying items that are built to last. Many items sold in stores today, especially clothing, are made using flimsy materials that rip easily. This is done on purpose as a marketing tactic because it’s cheaper to buy a replacement than it is to repair it.
This keeps us in a constant state of consumption. It’s called “planned obsolescence”, aka producing consumer goods that rapidly become obsolete and require replacing.
But if you purchase an item made from high quality, durable materials, chances are you won’t have to replace it for a very long time. And when it does start to break down, you’ll be more likely to want to repair it because you love it and want to keep it as long as possible.
The problem is that many people don’t know how to repair their items due to clever marketing techniques designed to promote disposability.
An example of how disposal culture has impacted the repair culture can be found in shoe repair shops. The Shoe Service Institute of America reports that shoe repair shops have dwindled from 100,000 in the 1930s to 15,000 in 1997 to about 5,000 today.
Obviously, some items are trickier to repair than others — like a burst pipe or a computer, versus a missing button on a blouse. For situations like this, seeking out a professional is always a good idea, like a computer repair station, a plumber, or a shoemaker.
However, there are several items around the house you should be able to learn how to fix with relative ease. We’ll cover 4 items you should know how to repair, plus tips on how to ditch disposal culture.
what is the purpose of repair?
The purpose of repair is to restore an item or device to proper functionality. Essentially, you’re returning a broken item back to working condition.
The kind of repair work required will depend on the type of item. Electronics, plumbing, and vehicles tend to be harder to repair. In fact, working with electrical wiring can be dangerous, so it’s best to leave this to a professional.
Repairing your items will help keep them around longer, prolonging their life. This will help keep them out of the landfill.
Making repairs can save you money too, because some items are relatively expensive to replace. For example, repairing small parts in your car and keeping it maintained will save you a lot of money compared to buying a whole new car.
why right to repair is important
Have you heard of the Right to Repair Bill? The Right to Repair is important because, without it, small businesses and consumers don’t have access to the tools, parts, and service information needed to repair their items.
You can increase the longevity of your device or car by replacing one or two items it needs, instead of replacing the entire item.
Certain manufacturers will make it hard to repair your items, or nearly impossible, just to keep you in a constant state of buying new (which makes them more money). For this reason, the Right to Repair Bill is essential in creating a more circular economy where we repair our items, thus relying less on mass consumerism.
The Right to Repair Bill was passed in some states, but not all. States like New York, California, Washington, New Jersey, and Hawaii all have active Right to Repair bills. You can check for your state on this site.
what things can you learn how to repair?
You’d be surprised at all the things we can repair if you have the right parts, patience, and skill. Unfortunately, many manufacturers make it difficult to find the right parts because they don’t want people repairing their products.
A good place to look for tools to repair your items is a maker’s space, reuse stores, and tool lending centers. Facebook marketplace may be another place to find tools for free or discounted prices.
With the right parts, tools, and help, you can repair:
- Shoes: Your local shoe cobbler will be able to help you repair numerous damages on your shoes, from a simple tear to replacing an entire sole.
- Clothing: If your clothing has a tear or is missing a button, you can take it to the tailor and have them fix it for you. Or you can do it yourself with some sewing skills!
- Furniture: Some pieces of furniture can be repaired with a few simple fixes that require specific products, like finishing, touchup, and wood repair kits. You can typically find these in department stores or online. If your furniture has a warranty, the company itself may repair it!
- Jewelry: There are several jewelry repair shops you can bring your pieces to. Or, if you have the know-how, you can hit up a Michael’s craft store and buy a few jewelry parts that may help you repair your piece.
- Appliances: Several appliance repair services are probably available near you with a quick Google search. Hiring an appliance repair technician is a good place to start.
how do I learn to fix things?
Learning to fix things takes time and dedication, but it’s not impossible. Here are some tips for becoming handier around the home.
- Start small first. You don’t have to know how to fix appliances or plumbing right off the bat (that’s typically a big job you leave to professionals anyway). Most home repairs can be fixed with simple tricks anyone can do. For example, if your sliding door comes off the hinges, getting in close and checking the runners will usually solve the problem. Have patience and get creative, but also know your limits and when it’s safer to hire a repairman.
- Do your research. Sometimes, you need to watch a video showing you how to repair a certain item or read a step-by-step guide. You can typically find some good home repair channels to follow on YouTube. But there’s also a lot of literature on repairing items as well.
- Pick a repairman’s brain. If you know someone who’s handy or end up hiring a professional for a repair job, consider asking them questions. If they’re willing to demonstrate what you have to do to fix the situation, make sure to pay close attention. While this won’t make you a qualified expert, it’s one step closer to being self-sufficient.
how do you repair common household items?
Starting off small is a great way to learn basic repair skills. Here are 4 easy things to repair anyone can do with a little patience and the right equipment. These are good skills to have that will save you money and help reduce waste.
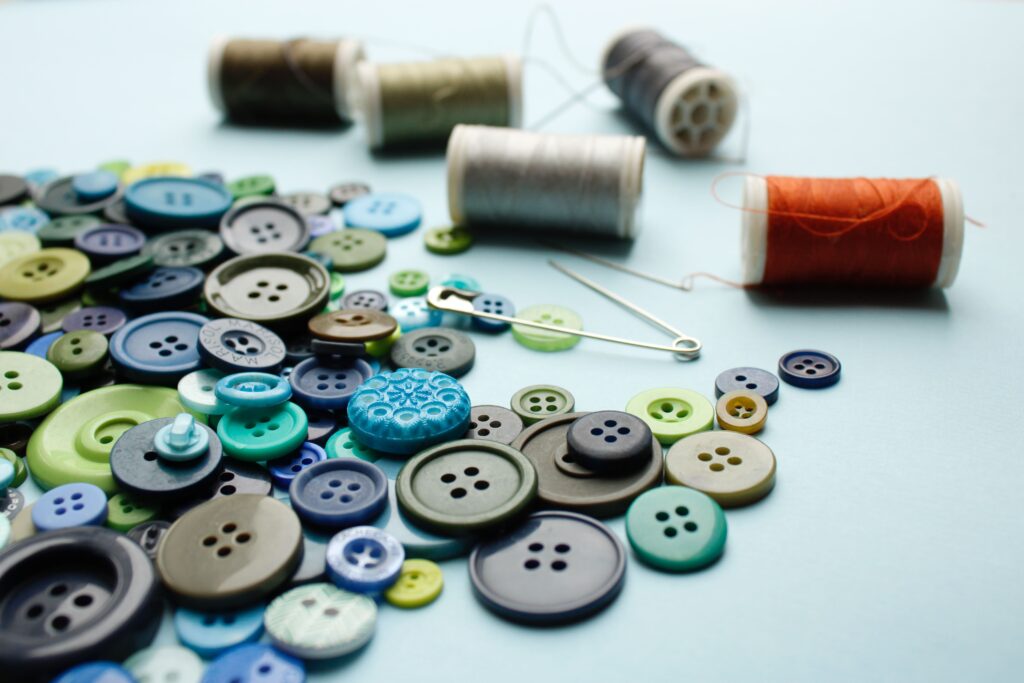
how to repair a missing button
Ever have a button pop off your blouse or cardigan? Good news: You don’t have to toss it because it’s a simple fix.
All you need to repair a broken button is a needle, some thread, a replacement button, and some free time.
First, make sure you have the button facing the right way. The ridge should be face up.
Next, make sure you thread the needle and make a knot at the end of it. Put the needle through the fabric, then through the hole of the button.
There are typically four holes, and you want to crisscross diagonally into each hole to form an X. To secure the button in place, you’re going to make a shank on the back of the button.
You take your needle and on the back, you go through the fabric but you don’t go through the button. You’re going to flip the button over (front side facing you) and wrap the thread around the base of the button at least four times to get a shank.
Then, take your needle and put it back through the fabric only to the back of the button. Now, you finish the button by making a knot.
Make a stitch in the area where your previous stitching is. Just take the needle in and out. Pull it until you get a loop. Take your needle, go through the loop and pull it make a knot. Make another knot to further secure your button.
If you need visual assistance, I highly recommend checking out this informative video on YouTube.

how to patch a ripped sock
Got a hole in your sock? Learn how to darn it! All you’ll need is thread in a color similar to the sock, a needle, and a round object (like a light bulb or a tennis ball).
First, pull the sock over the round object you’ve chosen. Then, make sure to secure the fabric with a rubber band so it doesn’t move.
Next, push the needle through one end of the hole. You’re going to make a large running stitch to the other side of the hole. You’ll want to repeat your stitches and run them over the hole, going back and forth until the hole is blocked up with parallel stitches.
Optionally, you can also sew stitches perpendicular to the parallel stitches. This is just to reinforce the patch you’ve created out of thread. Weave your stitches in and out of the previous stitches to do this.
Make sure to tie a knot at the end to secure your stitching. You may want to iron over the patch to flatten it too.
For visual assistance, be sure to check out this YouTube video that shows how to darn a sock by hand.

how to put together broken glasses
If the frames of your glasses break, you should be able to fix them with relative ease. You can usually find an eyeglasses repair kit in stores to use, or purchase a kit online.
Be advised — if your lenses break, you should contact your eye doctor immediately, or whoever prescribed you the glasses, as this isn’t an easy fix.
However, fixing a broken arm or nose pad on glass is relatively easy with an eyeglass repair kit. Another option is to use heat shrink tubing specifically for a broken arm.
All you need to do is cut some heat shrink tubing to match the length you need to cover the broken part of the arm.
You’ll want to slide the tubing onto the arm and the area it broke, making sure to slide it as far down as possible. You want the tubing to be covering the broken part.
Then, use a heat gun or a really powerful hairdryer, to secure the tubing. Keep moving the heat around so everything is secured evenly. This process won’t take very long — maybe about a minute. Set the heat gun down somewhere it won’t melt something or catch on fire.
Then, just let the tubing cool. As soon as it’s cool, it’s ready to use.
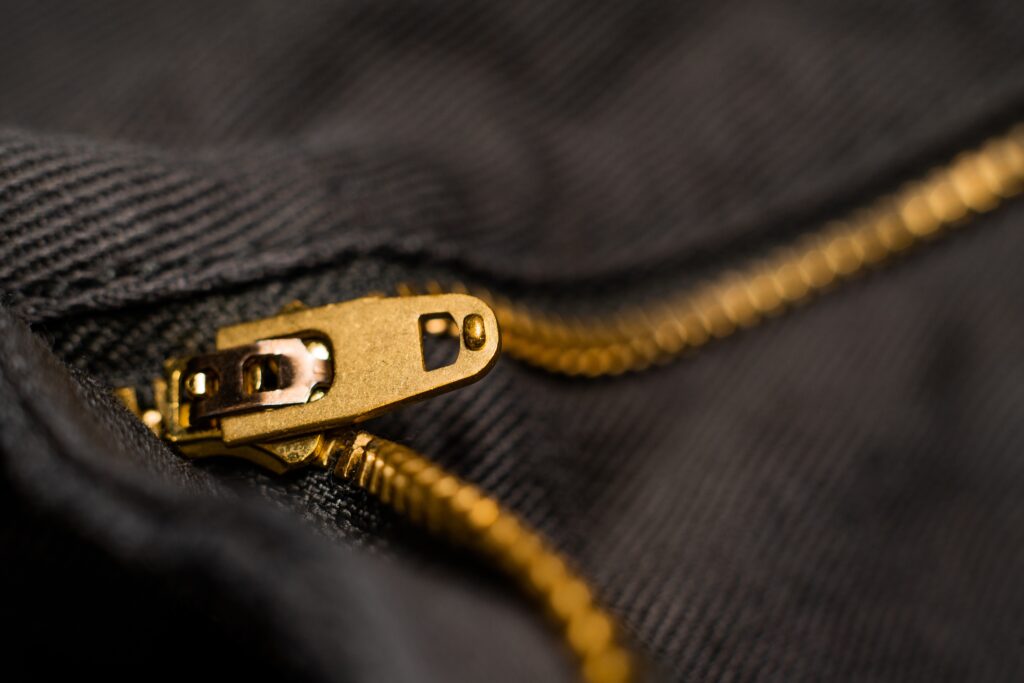
how to loosen a broken or stuck zipper
We’ve all been here before: A broken or stuck zipper is the worst, especially when the rest of the jacket is fine. Thankfully, zippers haven’t changed very much since they were first invented, making them easier to fix.
For a stuck zipper, check if there’s any fabric trapped in the zipper first. If that’s ruled out, try lubricating the teeth — just rub a graphite pencil’s tip on the zipper’s teeth closest to the slider. You can also try using a Q-tip coated with olive oil, bar soap, or petroleum jelly to lubricate the teeth.
Zipper isn’t closing properly? Or separates after being zipped up? Try using a graphite pencil on the teeth again. If a tooth is missing, these can be re-aligned with pliers.
If that doesn’t work, it may be an issue with the slider. Try closing the mouth of the slider with pliers to ensure it’s catching the teeth properly.
A broken zipper pull can be replaced with a paper clip or keyring. A keyring can help keep your pants zipper up, but it’s probably time to replace the slider if it’s not staying up on other items.
Remove a broken slider with a pair of wire cutters. A new slider can be added by sliding it back on the teeth at the top of the zipper on the side with the retaining box. Just fold aside the top stop, slide on the new slider, then zip it up as normal.
For visual aid, check out this video on YouTube about fixing every zipper problem you can possibly have.
faqs
how do you repair a particularly tricky ‘easy fix’?
If your ‘easy fix’ turns out to be particularly tricky — like an odd-shaped button, tough fabric (like leather or denim), glasses broken in half, or a bigger problem — it’s okay to call in the experts. If I had a penny for every time I texted a friend or family member something along the lines of, “How do you repair a leaky sink?” I’d probably be rich. You may be surprised who has a trick or two up their sleeve.
But it’s not shameful to hire help or, if the fix is beyond your capabilities, to resort to a new item.
where can I learn more repair skills?
As mentioned above, there are tons of YouTube and educational videos teaching you how to fix anything and everything. I have a friend who remodeled their entire bathroom by watching YouTube videos — though I don’t necessarily recommend taking on projects that big!
Do you have any repair skills? Share your repair hacks in the comments below.


I remember the thrill the first time I replaced the s belt on a vacuum myself. Saved myself the hundred bucks to replace the vacuum (which is what I did the first time!) and it felt like a real accomplishment.