Last Updated on April 18, 2024
One of the most sustainable things you can do is just use what you have. That pertains to clothing items too: Simply shopping your closet first can make a big impact.
Why? Well, did you know there are enough clothes on the planet right now to dress the next six generations of humanity?

According to the EPA 11.3 million tons of textiles ended up in 2018 alone – can you imagine what that number looks like now with the rise of places like Shein, Skims and Temu?
One way we can rebel against this is by caring for the clothing items we already have. This can look like many things (getting that nice blouse dry cleaned; removing stains when you see them; following the laundering instructions to the T) but one fun way to do this is through visible mending.
Visible mending is catching on in popularity, and rightfully so. It adds personality to your clothes, all while repairing and fixing them.
Visible mending can be anything from sewing a patch on your jeans to embroidering a flower over a tear on your shirt. Aka, mending you can see.
By practicing visible mending, you’ll keep the clothes you already own around you longer, which reduces waste. It’s a great way to add some individuality to a piece, or spruce up a thrift find that might need some extra love.
Here’s everything you need to know about visible mending and how to do it yourself.

Table of Contents
what is visual mending?
Visible mending is a form of repair, usually on textile items like clothing or bedsheets, that is deliberately left visible (compared to invisible mending).
The goals of this practice are to repair the item, but also to enhance its beauty. Through this celebration of mending, you are allowed to express your creativity and add character to a piece.
You can visibly mend:
- Shirts and blouses
- Jeans and shorts
- Socks and undergarments
- Dresses and suits
- Bedsheets and linens
The possibilities are endless.
Some ideas for attractive visible mends include embroidering flowers, butterflies, fruits, vegetables, geometric shapes, or abstract designs. It all depends on your skill level, technique, and how much material and space you have to work with.

what is the best visible mending stitch?
The best visible mending stitch varies based on what you need it to do – and personal preference.
However, a blanket stitch is generally considered a great embroidery stitch to know. You can use it for sewing on elbow patches, decoration, edges, or for keeping holes but making them secure.
what is the Japanese art of visible mending?
Sashiko is the Japanese art of visible mending. The idea behind it is repairing fabric with geometrical patterns – this is said to give it strength and beauty.
It’s a bit similar to the kintsugi technique (also Japanese) of repairing objects with gold.
There’s also Boro mending, which was done more out of necessity for poor families. We’ll discuss both techniques further below.
how do you visibly mend a hole?
You can visibly mend a hole in many ways, but the easiest is probably visible darning. You can use a color of thread that doesn’t match the fabric you’re repairing, so it stands out. We’ll discuss this technique more in-depth below.
RELATED: How to Sew a Button + 5 Other Clothing Fixes

what are the different types of visible mending?
Glad you asked! There are several different types of visible mending, but below I have listed the most common and popular forms, plus linked tutorials on how to do them.
1. embroidery
Perhaps the most common method of visible mending, embroidery is used to decoratively cover up a hole or tear with stitches and patterns.
There are so many embroidery stitches, but a few of the most popular are:
- Backstitch
- Running stitch
- Straight stitch
- French knot
- Stem stitch
- Satin stitch
You can use colorful threads to create a beautiful pattern or display (like a flower or butterfly) over a tear or hole. Here’s a wonderful tutorial that teaches you how to embroider over a hole or stain.

2. visible darning
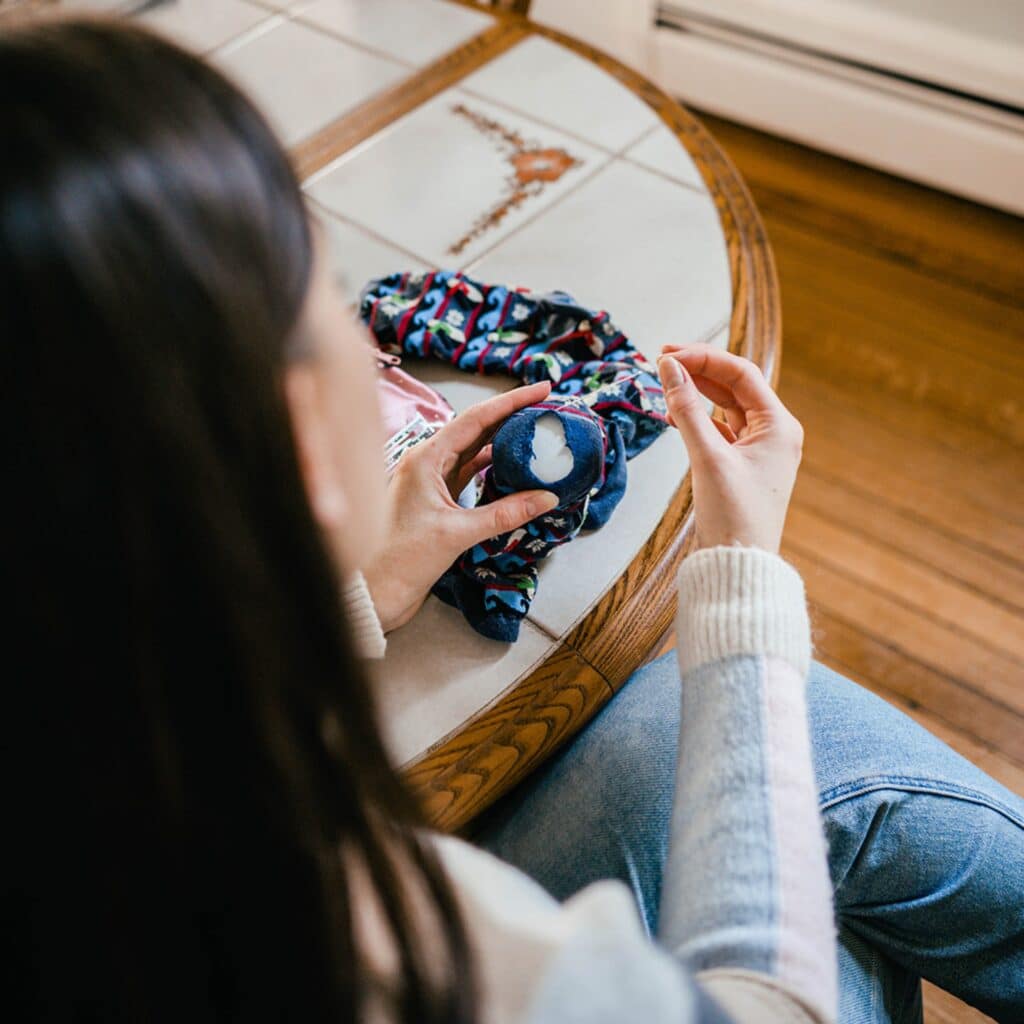
Visible darning is when you repair holes or worn areas with decorative, colorful stitching. You’ve probably heard of “darning a sock” before – this specific technique uses a needle and thread alone.
A simple darning stitch by hand usually means you use a running stitch along the grain of the fabric and stitch a ‘weaving’ style technique to fill in the gaps.
For visual assistance, be sure to check out this YouTube video that shows how to darn a sock by hand. To make it “visible” all you need to do is use thread that doesn’t match the color of the sock – so it pops out.
You can also use visible darning on sweaters. Here’s a great tutorial on fixing holes in sweaters (and socks) using visible darning.
3. patches
Patches are a fun way to dress up a jacket or bag – and they can also be used to cover a hole or rip. There are so many different ones to choose from, and many can be glued or ironed on.
For iron-on patches you will need a pattern, two pieces of fabric, and two pieces of a paper-backed fusible web.
There’s also felt patches you can make yourself. This patch style requires minimal edge finishing because the felt won’t fray like other fabrics. It’s also sewn in place, so you know that your stitching won’t go anywhere.
To make felt patches, all you need is the felt to embroider on, a marking method, and thread to attach it with.
Last but not least, there’s self adhesive patches that you can attach like a sticker. To make these you will need the fabric you are stitching on, a piece of heavy stabilizer, and permanent peel-and-stick fabric adhesive.
For full step-by-step instructions on how to make all these patches, and more, check out this tutorial.

4. sashiko
Sashiko is a Japanese embroidery technique that uses only running stitches to create patterns, typically geometric in design. You can use it to mend and reinforce fabric.
In visible mending, sashiko can be used to create stunning designs over rips, holes and worn clothes. It’s most popularly used on denim, like denim jackets and jeans.
Here’s a full tutorial on how to mend jeans using sashiko methods.
5. boro
Boro mending is another Japanese technique that involves patching and stitching together worn-out fabrics, creating intricate layers.
This form of mending was born out of necessity in Medieval Japan. Boro is the result of repetitive Sashiko stitching to make clothes last longer.
Cotton was not common in Japan until well into the twentieth century, so when a kimono or sleeping futon cover started to wear thin, poor families would patch it with a small piece of scrap fabric using Sashiko stitching.
This would be done repetitively, to the point the common observer would be unable to recognize where the original fabric began.
This ensured the clothing would be passed from generation to generation. Ironically, what was once done just to get by is now being honored as a style statement.
Here is a helpful tutorial on Boro inspired visible mending.
So, will you be giving visible mending a try? Which method is your favorite? Let me know in the comments!


