
Last Updated on December 16, 2021
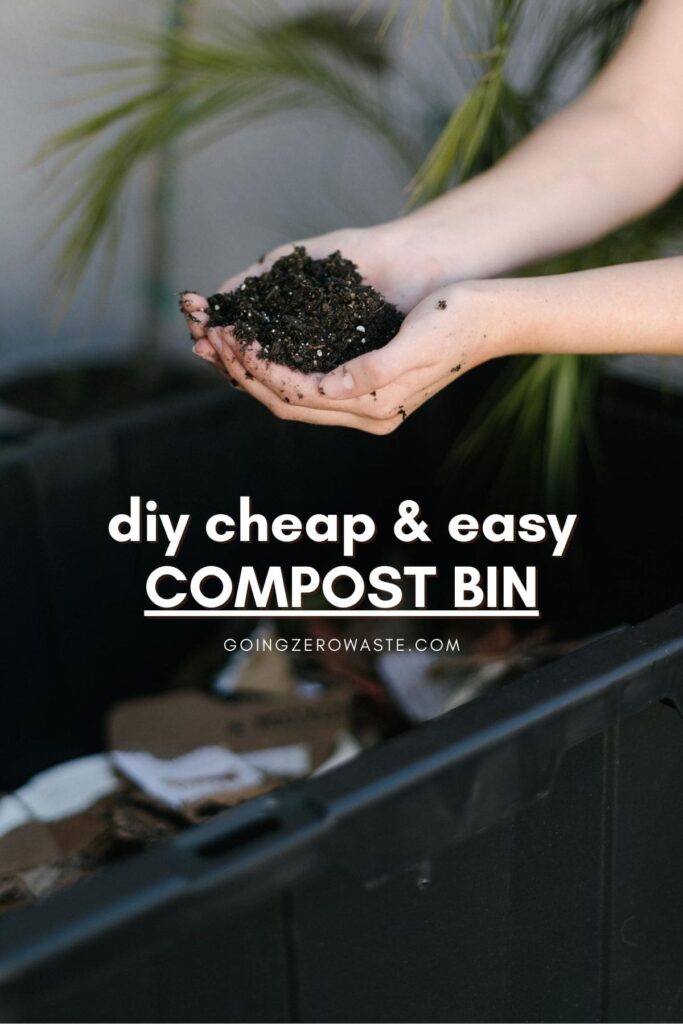
Limiting waste, enriching your soil to grow a bountiful garden, and helping the environment are just a few reasons to build a DIY compost bin!
If you know me, then you know I am PASSIONATE about composting. I didn’t want to put my food scraps in the landfill so I decided it was time to try my hand at building a compost bin instead.
A homemade compost bin is budget-friendly, easy to make, and will enrich your soil. Compost can be added to potted plants, put in gardens, and used to feed trees and flowers. Keep reading to learn how to make a compost bin, what items can be added to it, and how long the decomposition process takes.
Table of Contents
reasons to make a diy compost bin:
If I could shout one thing from the rooftops and have everyone listen I would scream, “FOOD SCRAPS DO NOT BREAK DOWN IN LANDFILLS!”
Organics can’t break down in a landfill because landfills are designed for storage, not decomposition. There’s no oxygen in a landfill which is vital for the decomposition process.
Instead of decomposing, organic matter like paper, wood, and food scraps are stuck in a limbo state releasing methane, and methane is a gas 30x more powerful than carbon!
I say ‘more powerful’ because methane stays in the atmosphere longer and absorbs heat more effectively making it more damaging than co2.
In fact, 16% of ALL methane emissions in the US come from landfills! Making food waste, if it were a country, the third-largest emitter of greenhouse gas emissions behind China and the U.S.
So, if you want to make a serious impact and reduce 50% of your household waste with just ONE swap, start composting!
storing your diy compost
I’ve written two wonderful blog posts on the topic A composting guide for apartments which can be done even if you don’t have a balcony as well as a guide to backyard composting.
Make sure you check out those posts for tips on maintaining your compost and finding which compost bin would work right for you.
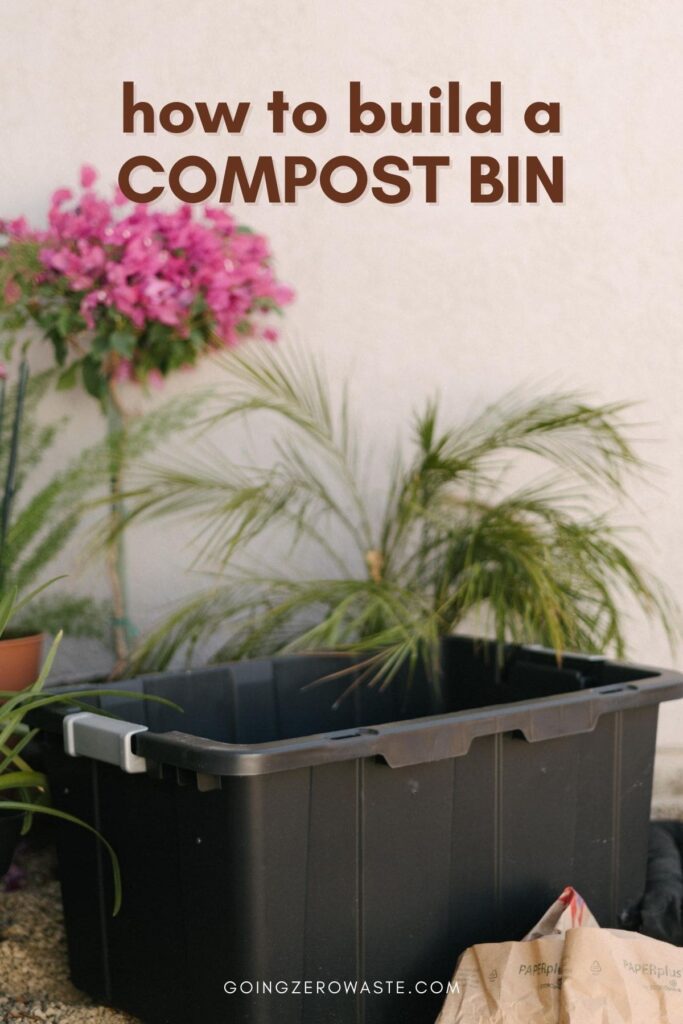
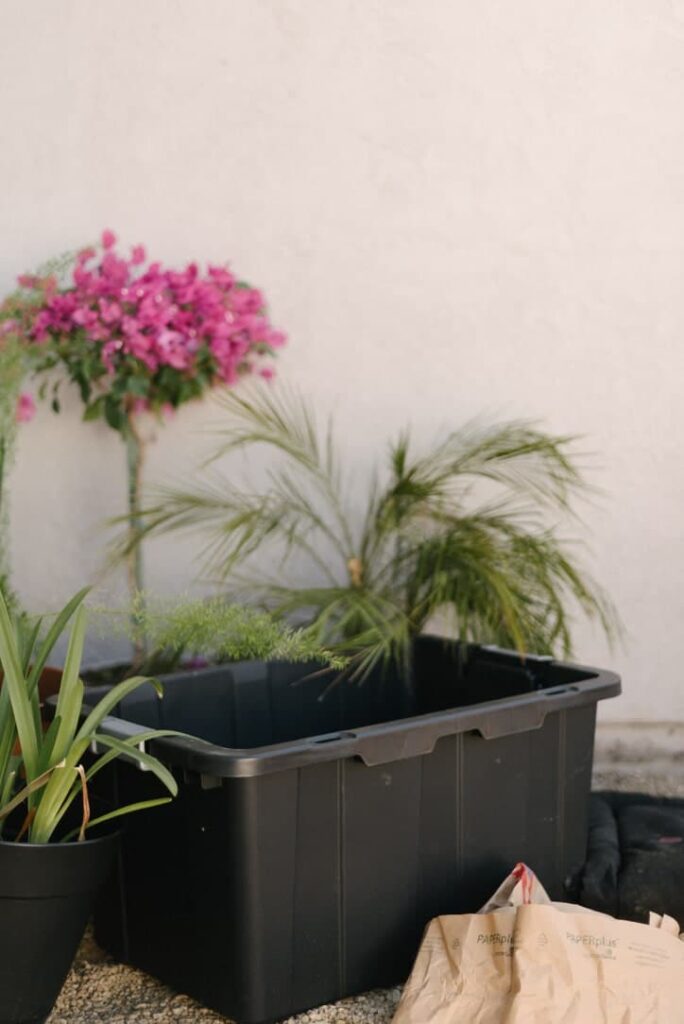
The bin I’m building is meant to live outside on a porch or balcony, but you can move it inside if you add some worms to it.
Worms are optional, but they will absolutely help speed up the decomposition process.
what you’ll need when making a compost bin:
- plastic storage bin with a lid
- drill
- shredded paper and dried leaves
- soil
- food scraps
- cardboard cover
- worms (optional)

how to build a compost bin
step 1: create some airflow
The first thing you want to do is create some airflow. Remember, oxygen is vital for food scraps to break down!
So let’s make sure some sweet, sweet air can flow in and out. Drill 10-12 holes, evenly spaced out in the bottom of your bin.
You’ll also want to drill some holes and near the top of the bin on all four sides 10-12 evenly spaced should do the trick.
Using a drill will make this step VERY easy, but if you don’t have one, like me, you can also use a hammer and a screwdriver. It worked perfectly.
step 2: add a base
Now, you want to set the stage for your DIY compost. At the bottom, you’re going to put 1-2 inches of dried leaves, shredded paper, or shredded cardboard.
This is a great way to get rid of sensitive documents. Shredded paper is not recyclable loose in your curbside bin so instead of sending it to the landfill why not turn it into soil?
Related: How to Recycle Paper – The Right Way!
step 3: add soil
After you’ve layered in your paper mixture, it’s time to add some soil. I used regular potting soil, but I’m sure whatever you have handy will work just fine.
Pour 1-2″ of soil in your bin to help kickstart the decomposition process. When you place your food scraps into the compost bin, you can coat them and nestle them into the soil to speed up decay.

step 4: just add food!
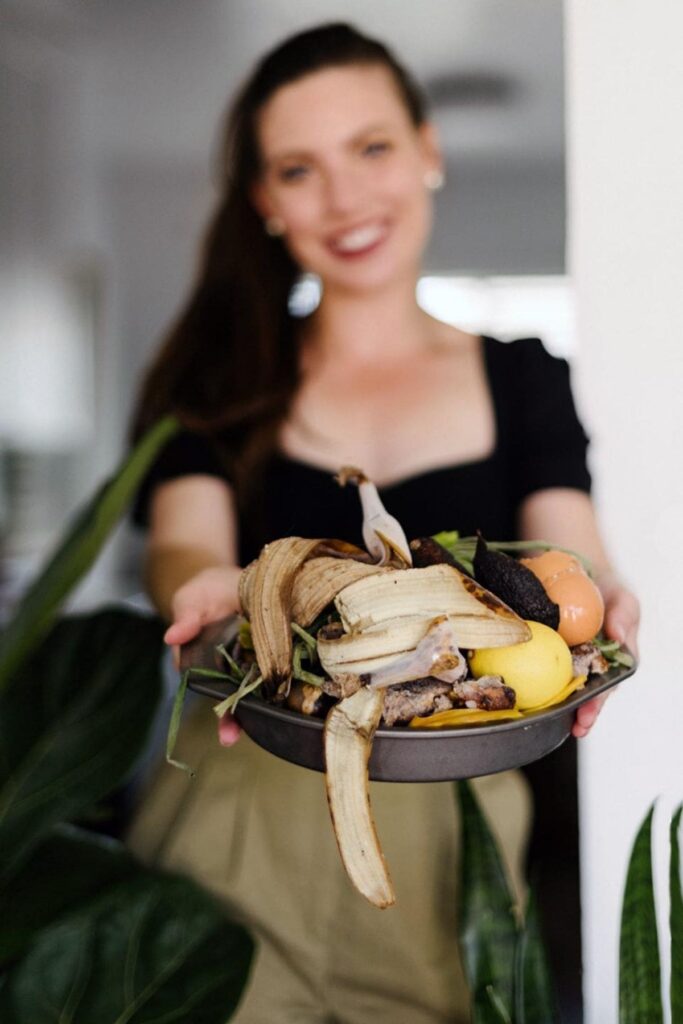
Add your food scraps! I like to keep my food scraps in the freezer and bring them to the bin every few days.
You’ll want to avoid adding meat, bones, dairy, processed sugars, refined grains and oil. Try to keep it to raw fruit and vegetable scraps for best results.
For more information on what you can and can’t put in your backyard compost bin be sure to check out my blog post The Ultimate Guide to Composting.
step 5: add worms
Get some red wrigglers! Adding worms is completely optional, but they’ll definitely make the process speedy.
If you’re adding worms, you’ll need to make sure that your bin stays in a temperate environment. Worms like to be in mild temps around 40F – 80F and honestly – same.
step 6: simple maintenance
Now that you have your DIY compost bin all set up, it’s just time to maintain it. When it comes to composting, you want to keep a good mixture of food scraps and paper. 50/50 is a really good goal.
Every week you’re going to want to water your compost pile and mix it up.
I use an old spatula to toss my food scraps around to make sure that I’m keeping everything nice and combined.
step 7: use your creation
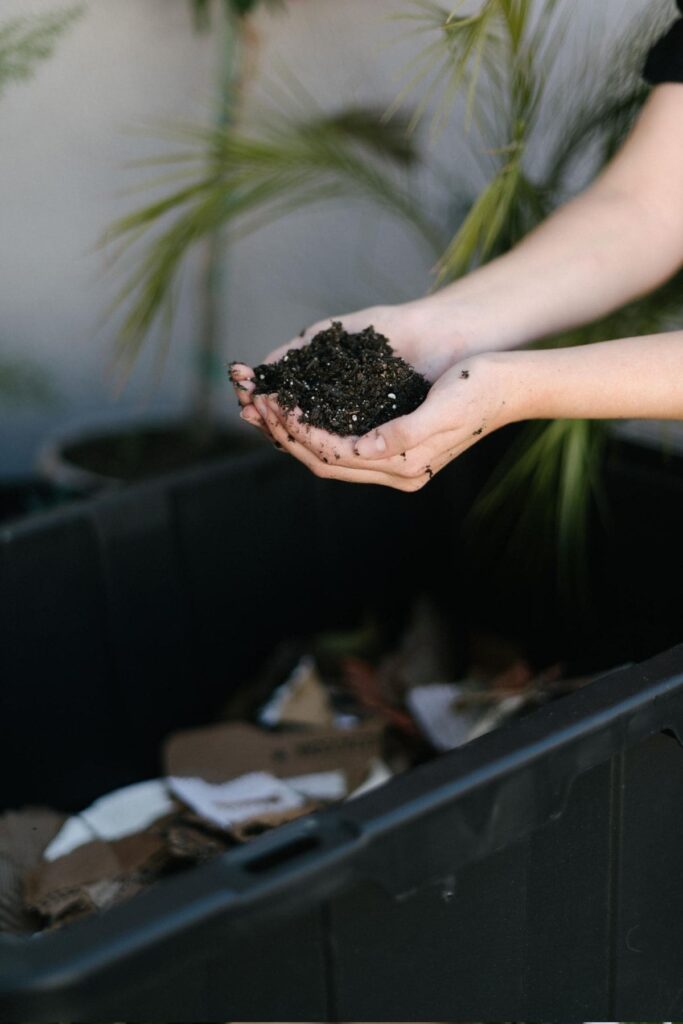
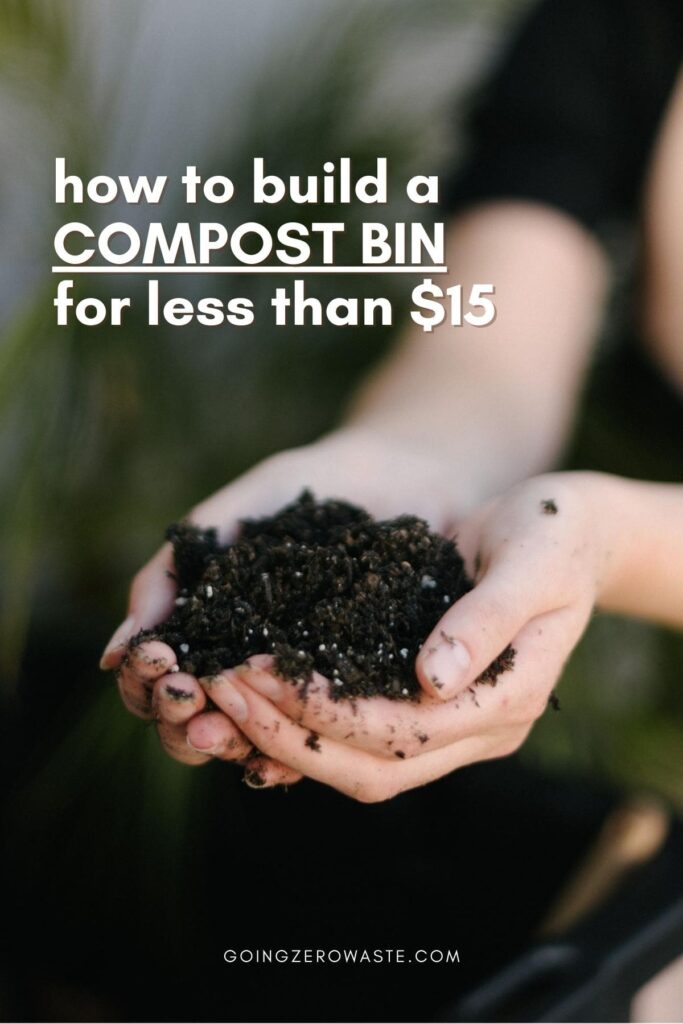
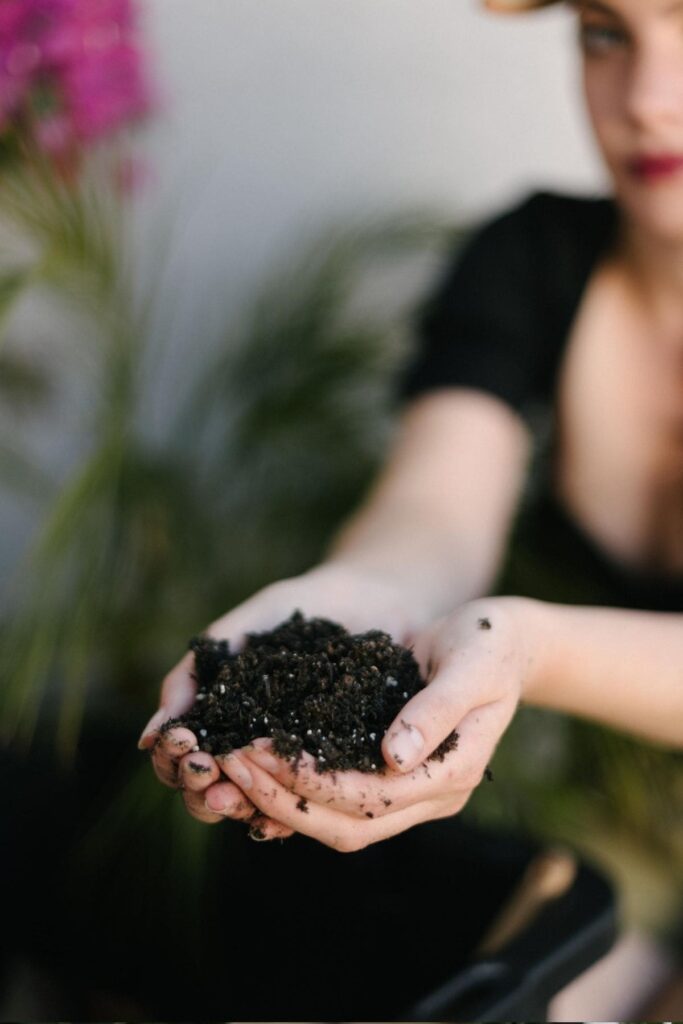
Over time, your food scraps will break down into a nutrient-rich soil. You can use your compost for your house plants or garden.
If you don’t have a garden or house plants, no problem! List your compost on craigslist, freecycle, bunz app, or a buy nothing group. I promise it will be snapped up QUICK!
For more tips be sure to check out my blog post How to Compost in an Apartment.
what can i use to make a compost bin?
Scraps from fruits and vegetables, coffee grounds, straw, leaves, pizza boxes, dryer lint and shredded paper are a few good options. Additionally, you can toss in newspapers, grass clippings, straw, and even leftover sawdust as long as the wood hasn’t been treated.
should compost be watered?
Making sure there is enough water is key to ensuring your homemade compost bin can thrive and decompose properly. Adding fruits and vegetables is an important key to keeping enough moisture in the compost bin. When you touch the compost it should be damp, not too dry or wet.
To test the water content of the compost pile grab a handful and give it a squeeze. A few drops of water should squeeze out if it has enough moisture. If not, you will need to add a little bit of water and stir well. If a lot of water squeezes out then it’s way too wet. Add more soil and items like straw to help absorb some of the moisture.
how long does it take for compost to be ready?
Properly watering and stirring the compost will speed up the decomposition process and it will be ready to use in as little as 6 – 8 weeks. Without proper care of the DIY compost bin, it can take several months to be ready.
what are the signs that my compost is ready?
The compost is going to be finished when it takes on an earthy aroma and feels like dark and rich soil. It shouldn’t smell or look like rotting fruits and vegetables. If it does, it needs to continue to decompose a while longer.
⠀

")
Oh these are some really good advice, thanks for sharing 🙂
You really need something to catch the liquid that will come out the bottom (known as worm tea if you are using worms), it can be really smelly (great for watering houseplants). Also you don’t need to water unless it is really dry. If you have lots of veg scraps it shouldn’t be too dry indoors (outdoors the sun and wind dries it faster). Avoid too much citrus, they can really mess it up. If you do add them, chop them really fine so you don’t end up with slimey lumps.